
Why Choose Linux on Windows?
For years, if you wanted to do serious network engineering or run specialized scripts, you had two bad options: dual-boot your PC (and lose access to your email/games) or fight with a slow, clunky VirtualBox VM.
Enter WSL 2 (Windows Subsystem for Linux).
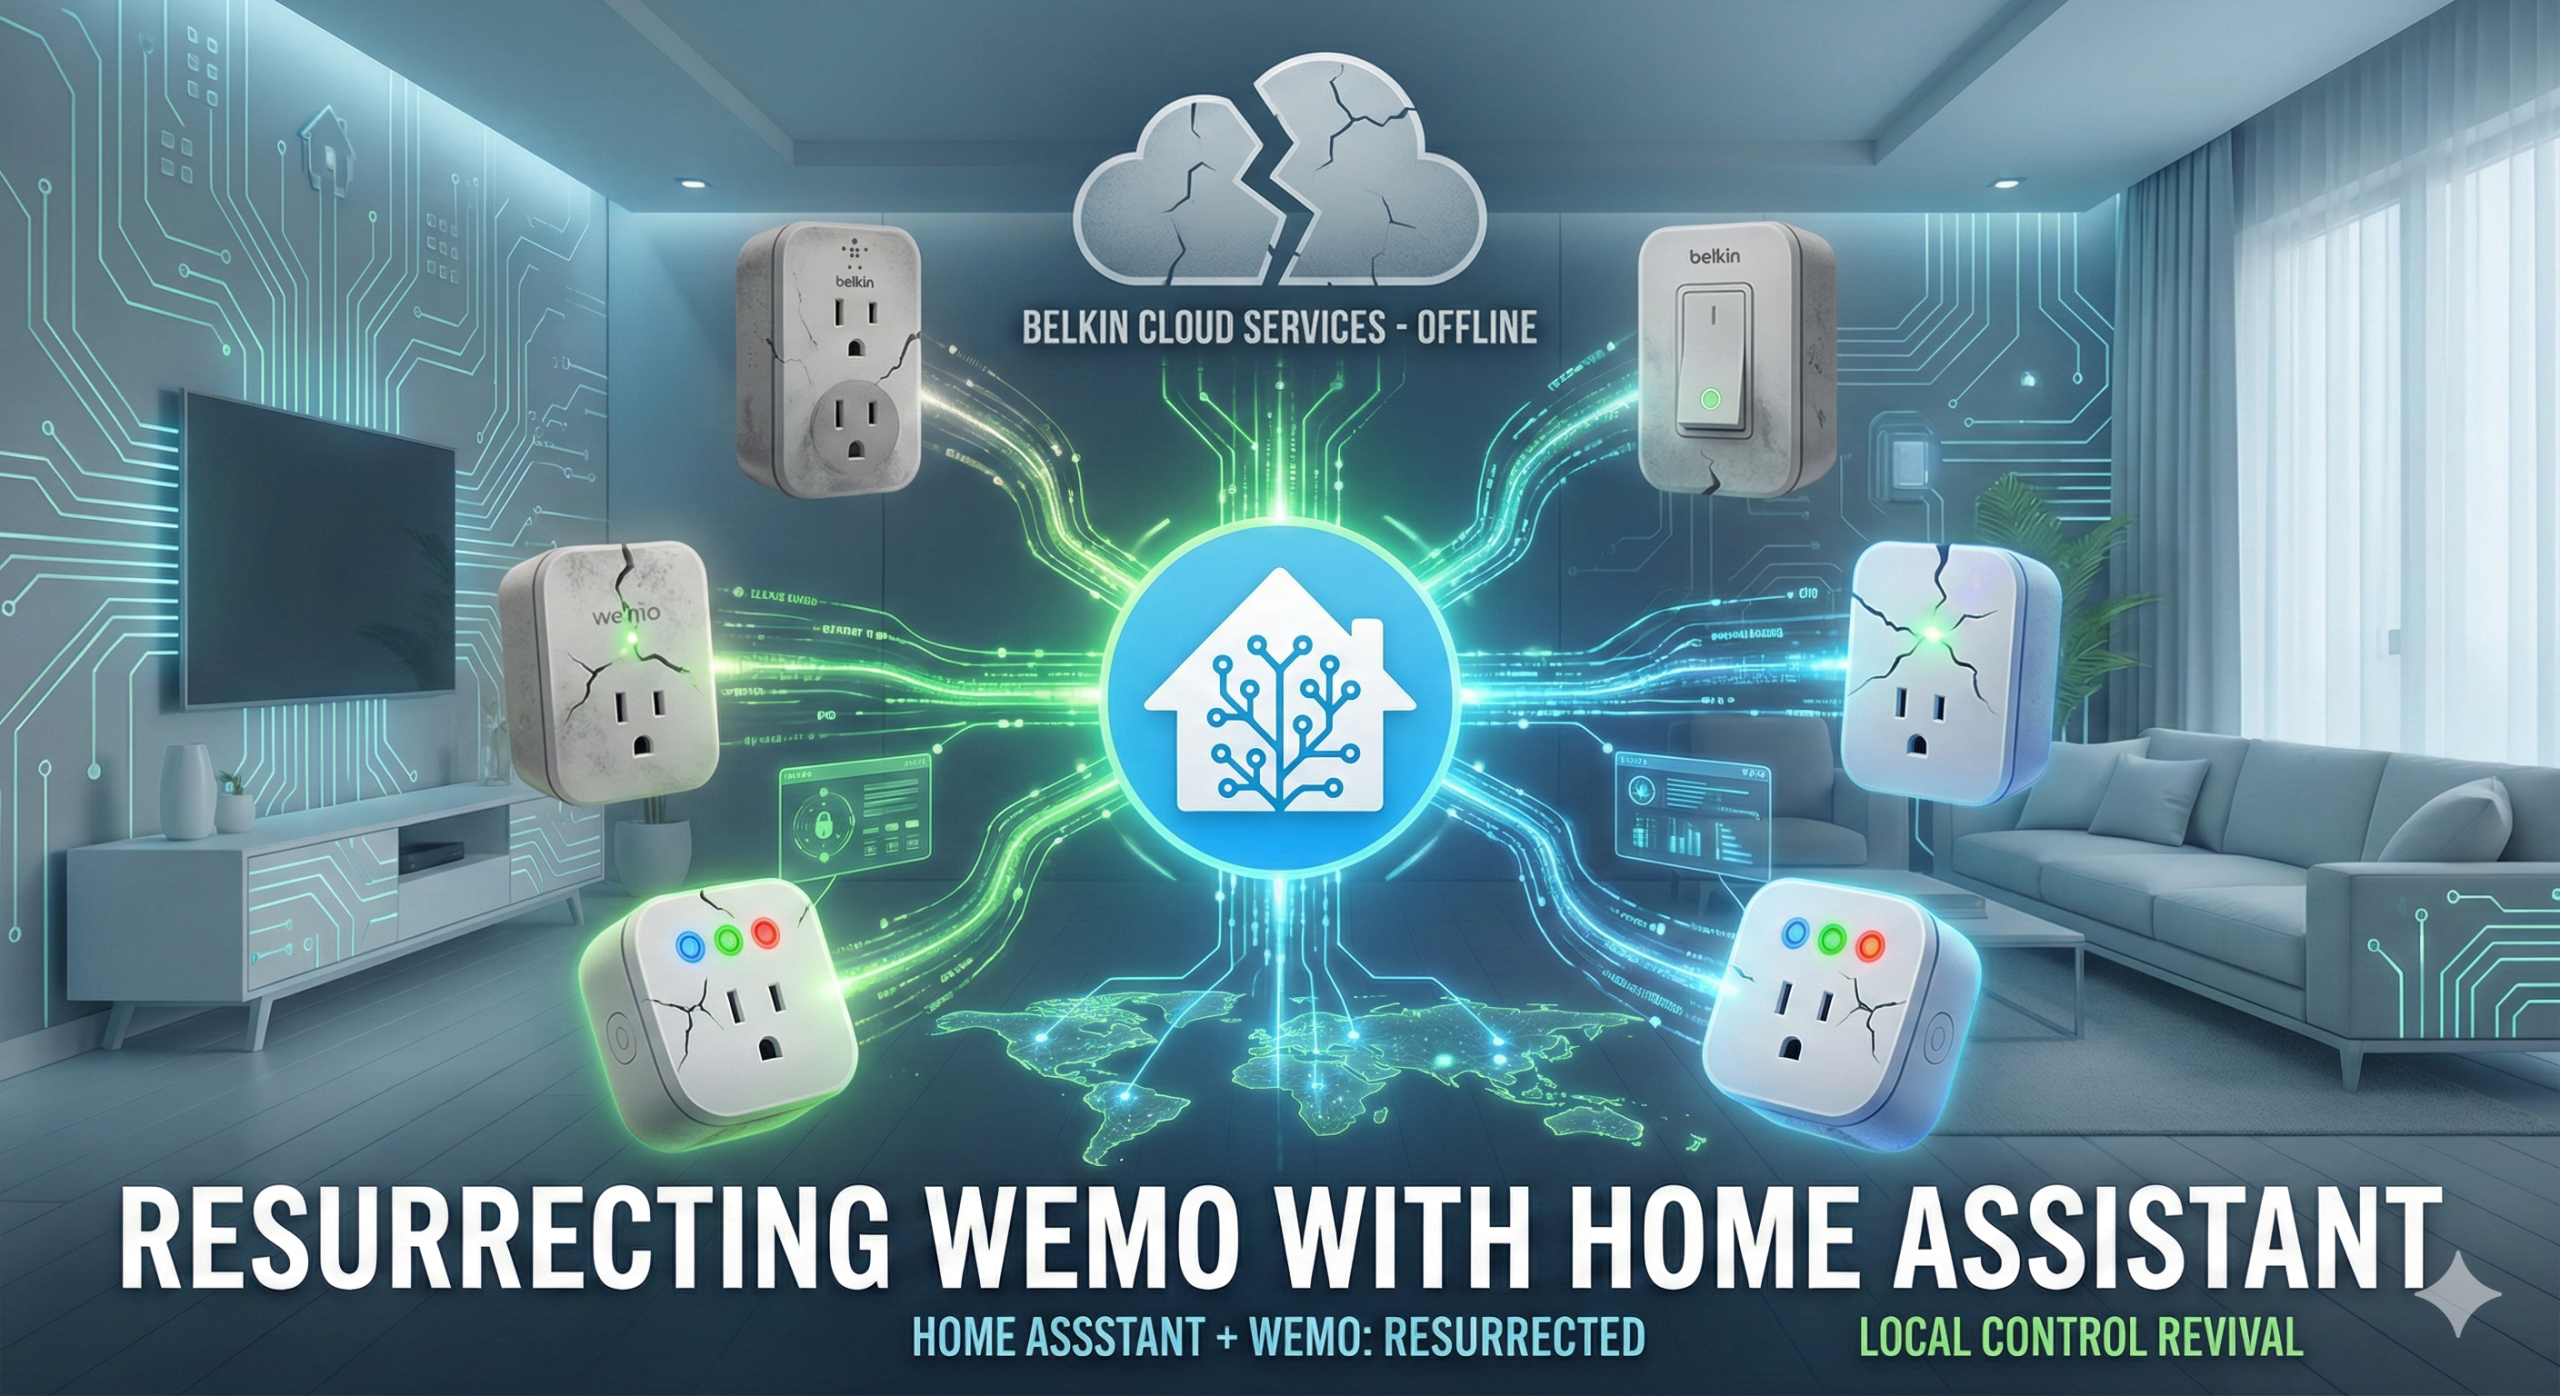
It puts a full Linux kernel inside your Windows OS. It boots in one second, shares your files, and most importantly, it gives you the superpowers needed to rescue abandoned hardware—like those "obsolete" Wemo plugs Belkin just bricked.
Here is how to set up your machine to run Ubuntu or Fedora alongside Windows, and specifically how to configure the networking so it can talk to your local IoT devices.
IoT Device Rescue
When cloud services die (like Wemo's did in Jan 2026), you need to talk to the hardware directly. Linux has the best tools (pywemo, tuya-convert) for this.
Network Diagnostics
Tools like nmap (network mapper) and tcpdump run natively and faster on Linux, giving you X-ray vision into your home network.
Clean Environment
You can install Python, NodeJS, and Docker in Linux without junking up your Windows installation with random dependencies.
Step 1: The Installation
Microsoft has finally made this easy. You no longer need to hunt for checkboxes in the Control Panel.
For Windows 10 & 11
1. Open PowerShell or Command Prompt as Administrator.
-
-
Right-click the Start button > Terminal (Admin) / PowerShell (Admin).
-
2. Run the magic command:
wsl --install3. Restart your computer.
By default, this installs Ubuntu, which is the standard "Swiss Army Knife" of Linux.
Want Fedora Instead?
If you prefer the Red Hat/RPM ecosystem (common for systems engineers):
- After the restart, open PowerShell.
- Run
wsl --list --onlineto see available distributions. - Run the install command for the version you see (e.g., Fedora 39/40):
wsl --install -d Fedora(Note: If Fedora isn't listed, you can install "Fedora Remix" from the Microsoft Store).
Step 2: The Critical Network Fix (Windows 11 Only)
This is the most important step for IoT users.
By default, WSL lives behind a virtual router (NAT). It can talk to the internet, but it cannot see devices on your local Wi-Fi, like your Wemo plugs or Home Assistant server.
If you are on Windows 11 (22H2 or newer), you can enable "Mirrored Networking." This bridges the Linux kernel directly to your Wi-Fi card.
- Open File Explorer in Windows.
- Type
%UserProfile%in the address bar and hit Enter. - Create a new file named
.wslconfig(make sure it isn't.wslconfig.txt). - Open it with Notepad and paste this:
[wsl2]
networkingMode=mirrored
firewall=true
autoProxy=true
5. Save the file.
6. Open PowerShell and restart WSL to apply the change:
wsl --shutdown⚠️ Windows 10 Users: Sadly, Mirrored Mode is not available on Windows 10.
-
The workaround: For discovering Wemo plugs, do not use WSL. Instead, install Python for Windows directly and run your recovery scripts in PowerShell. WSL on Windows 10 blocks the multicast packets these devices use for discovery.
Step 3: Setting Up Your Toolbox
Now that you have a Linux terminal, let's equip it. Open your Ubuntu/Fedora terminal from the Start Menu.
1. Update the System
Ubuntu:
sudo apt update && sudo apt upgrade -yFedora:
sudo dnf upgrade --refresh -y2. Install Python & Common Tools
We need Python for the Wemo recovery script, and net-tools to check IP addresses.
Ubuntu:
sudo apt install python3 python3-venv python3-pip net-tools -yFedora:
sudo dnf install python3 python3-pip net-tools -yStep 4: Verify Connectivity
Let's make sure your Linux instance can actually see your smart home.
1. In your Linux terminal, find your IP address:
ifconfig-
-
If you set up Mirrored Mode (Win 11): You should see the same IP address as your Windows PC (e.g.,
192.168.1.50). -
If you are on standard NAT: You will see a virtual IP (e.g.,
172.x.x.x).
-
2. Try to ping a local device (like your router or Home Assistant):
ping 192.168.1.1Use Case: Rescuing Wemo
Now you are ready. You can follow our Wemo Recovery Procedure for Home Assistant:
Summary
You now have a professional-grade Linux environment sitting inside your Windows PC. Whether you are recovering "dead" smart plugs, testing firewall rules, or learning to code, you have the right tool for the job—without ever rebooting.
Setting Up Your Development Toolbox
To begin, ensure your Windows Subsystem for Linux (WSL) is updated to the latest version. Next, install essential development tools such as Git, Node.js, and Docker. Open your terminal and use the following commands to set up your environment. Remember, this toolbox will allow you to seamlessly transition between Windows and Linux, optimizing your workflow for efficiency and precision. sudo apt update && sudo apt install git nodejs docker

Homelab-in-a-box Benefits
Creating a Homelab-in-a-box offers unparalleled flexibility and control over your computing environment. It allows you to experiment with new technologies without risking your primary system. This setup fosters innovation, enabling you to test and deploy solutions quickly. Moreover, it provides a sandboxed environment for learning and development, ensuring your main system remains clean and efficient. Embrace the freedom to explore and the precision to execute with confidence.

0 Comments