
The Wemo Cloud Shutdown: What You Need to Know
On January 31, 2026, Belkin officially discontinued all cloud services and app support for its Wemo line of smart home devices.
What this means for you:
-
The App is Dead: The official Wemo app can no longer log in, meaning you cannot use it to set up new plugs, update firmware, or create schedules.
-
Voice Control is Broken: Native integrations with Amazon Alexa and Google Assistant, which relied on Belkin's cloud servers to relay commands, have ceased functioning.
-
Remote Access is Gone: You can no longer control your lights from outside your home using the official tools.
Why this procedure is necessary:
While the "Cloud" is gone, the physical hardware inside your Wemo plugs is still fully functional. However, Wemo devices were designed to receive their Wi-Fi credentials exclusively through the now-defunct app.
This guide bridges that gap.
By using a Python script to directly inject Wi-Fi credentials into the device's firmware, we bypass the need for the app entirely. Once connected to your network, Home Assistant takes over as the new "brain," providing local, private, and instantaneous control that is actually faster and more reliable than the original cloud service ever was.
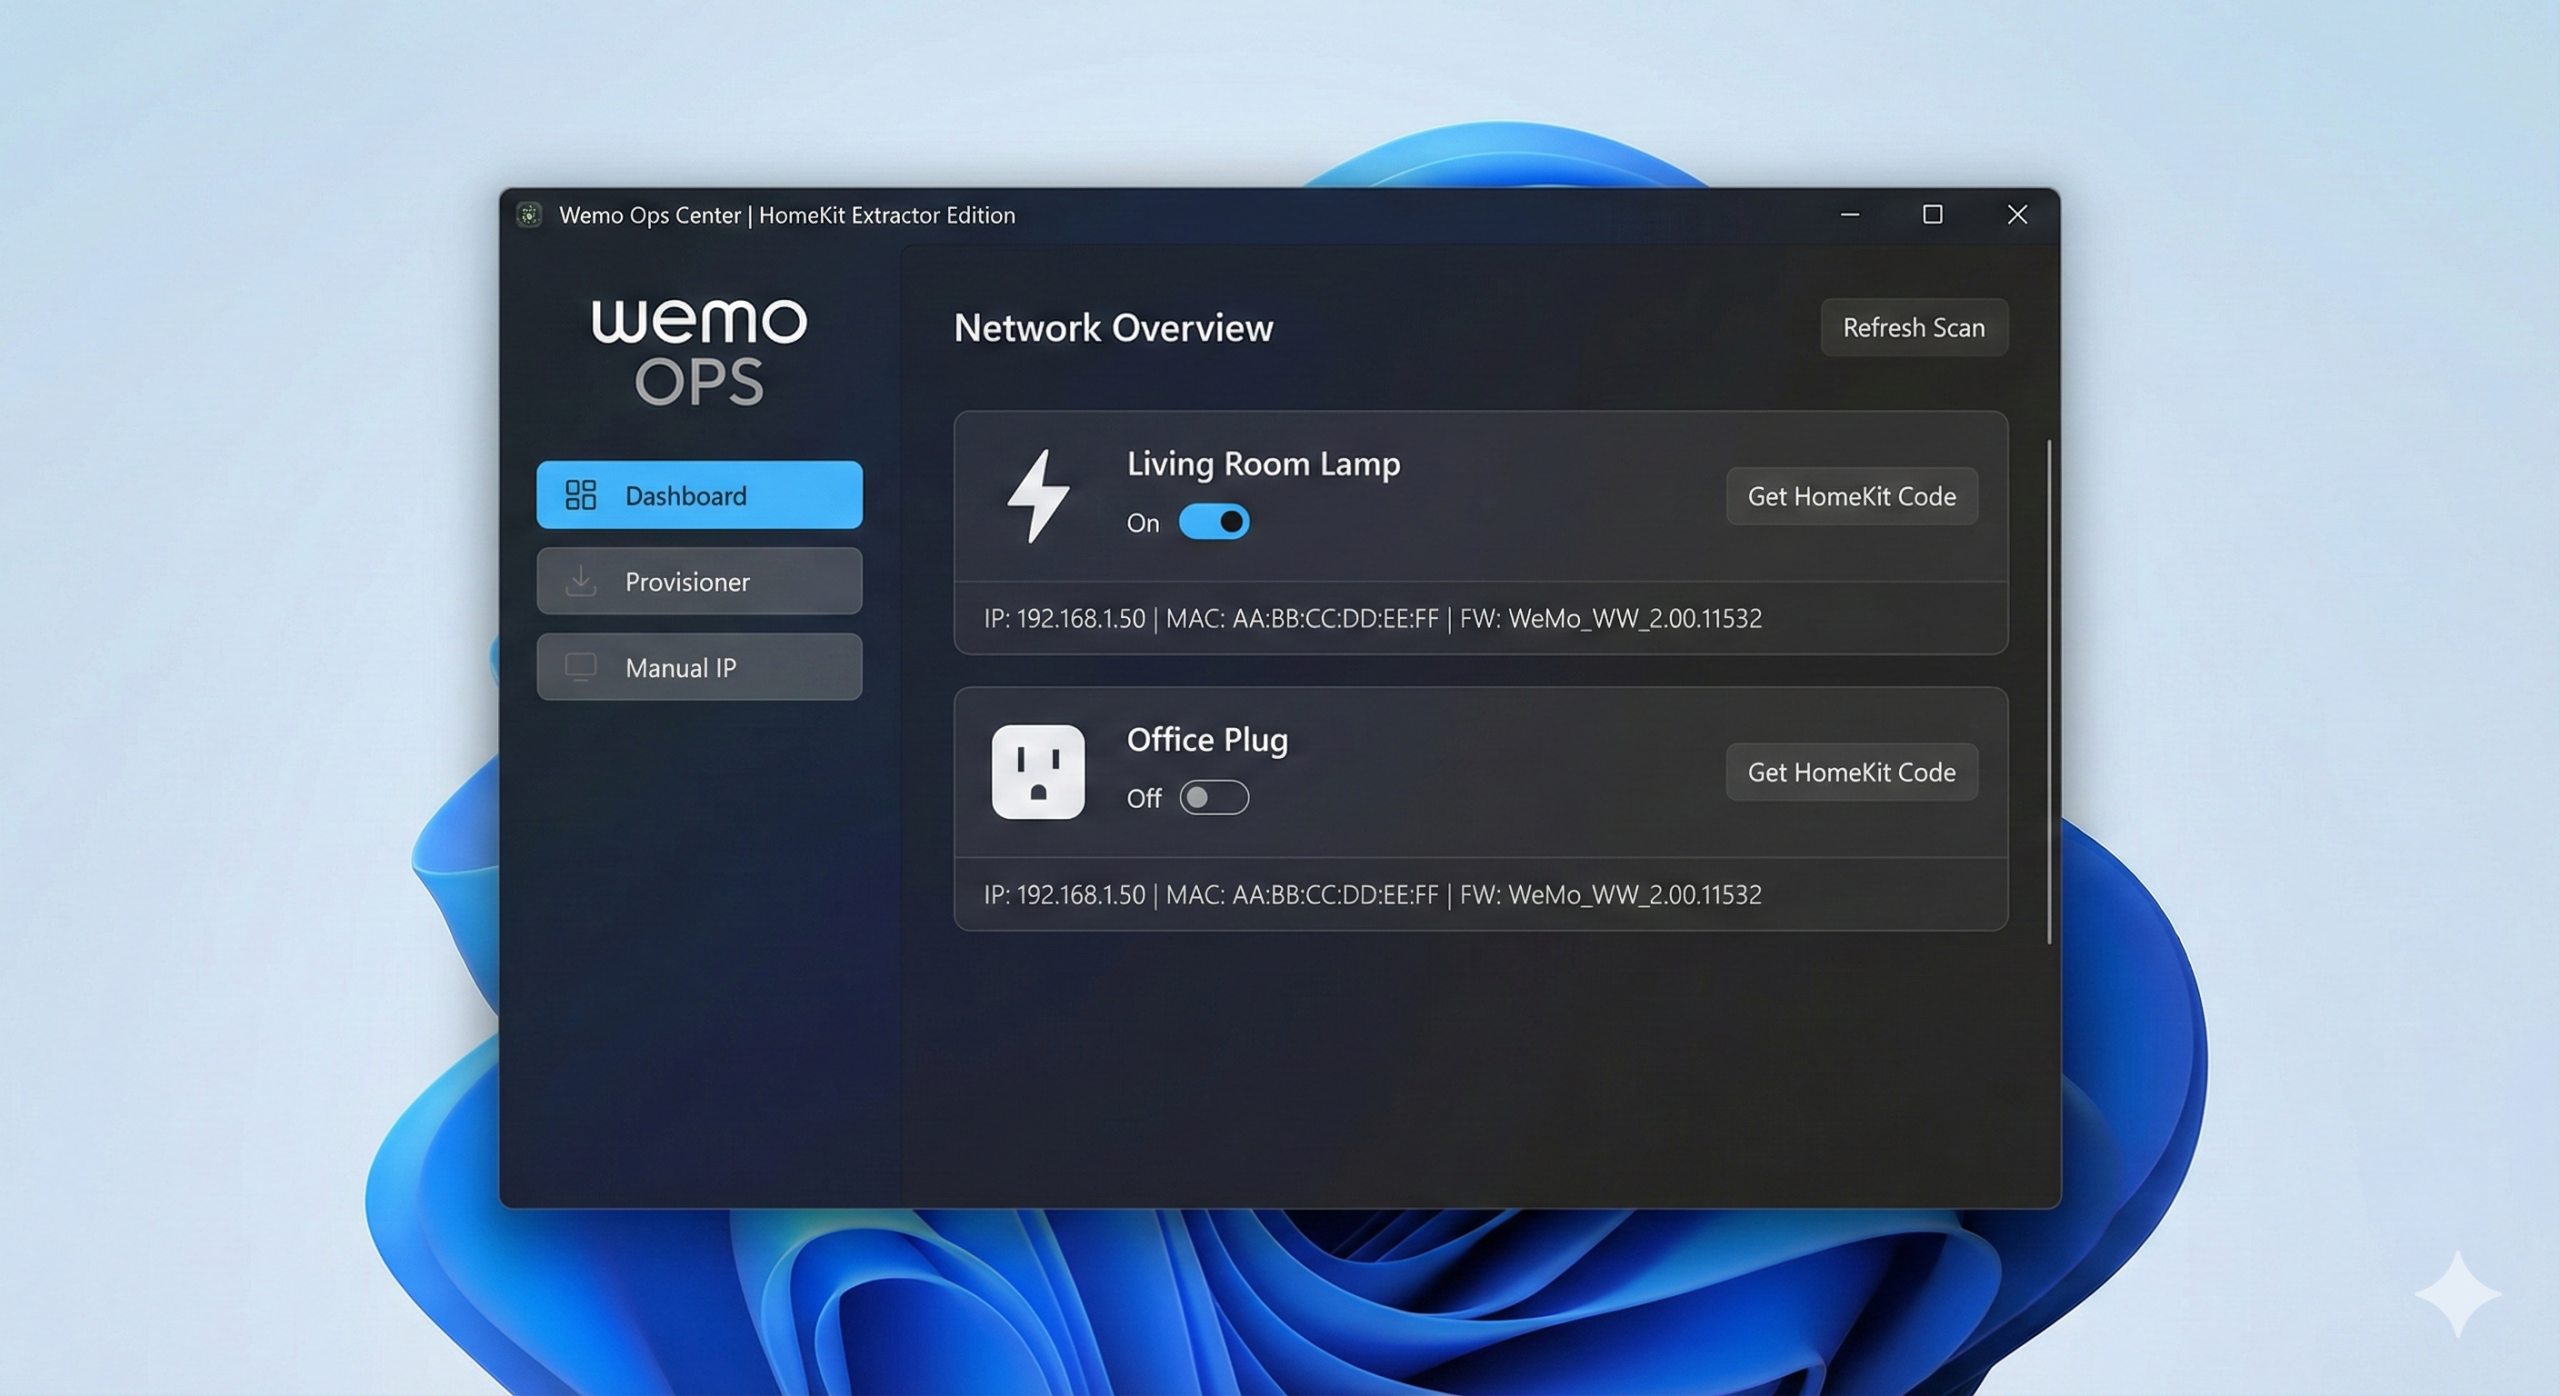
Resurrect Your Hardware: Introducing Wemo Ops Center
The Wemo Cloud is dead, but your devices don't have to be.
If you are stuck with "bricked" Belkin Wemo smart plugs after the January 2026 cloud shutdown, stop trying to make the old app work. I built a dedicated Windows utility to manage, provision, and rescue these devices entirely locally—no cloud, no account, and no app required.
Wemo Ops Center is a portable tool designed to bridge the gap between your hardware and Home Assistant.
Key Features
-
Wi-Fi Provisioning: The "Killer Feature." Connect factory-reset devices to your Wi-Fi network instantly without needing the defunct official iOS/Android app.
-
HomeKit Code Extractor: Lost your sticker? The tool attempts to digitally extract the secret 8-digit HomeKit PIN directly from the device firmware (supported models only).
-
Admin Dashboard: View all devices on your subnet, toggle power, and check status in real-time.
-
Tech Specs Export: One-click copy for MAC Addresses, Serial Numbers, and Firmware Versions—perfect for setting up DHCP reservations in your router.
-
Direct IP Mode: Auto-discovery failing? Manually force-add a device by IP address (essential for users on VLANs or complex subnets).
-
Zero Install: Runs as a single, portable
.exefile. No Python or dependencies required.
Visit the GitHub Page
Why Local Control Matters
The Case for Local IoT Management
If you have a drawer full of Belkin Wemo plugs collecting dust because the app was discontinued last month, don't throw them out. You are holding premium ESP-based hardware that is actually better now that the cloud servers are gone.
As engineers and smart home enthusiasts, we know the "Cloud-First" model is broken. It introduces latency, privacy risks, and as we've just seen with Belkin, a literal expiration date on hardware you own.
By moving these devices to Home Assistant, we aren't just salvaging them; we are upgrading them. We get sub-second response times, local execution (internet down? lights still work), and granular logic that Amazon Echo or Google Home can’t touch.
Here is how to provision Wemo devices onto your Wi-Fi manually and integrate them into a segregated local VLAN using Python.
Manual Execution Steps
Follow these steps to regain control over your Wemo devices:
1
Factory Reset
Begin by resetting your Wemo devices to their factory settings to clear any previous configurations.
2
Connect Wi-Fi
Reconnect your devices to your local Wi-Fi network, ensuring a stable and secure connection.
3
Run Script
Execute the setup_wemo.py script to configure your devices for local control using Home Assistant.
4
Home Assistant Discovery
Utilize Home Assistant's discovery feature to automatically detect and integrate your Wemo devices into your smart home setup.
Phase 1: The Factory Reset
Before we can inject new Wi-Fi credentials, we must clear the old ones.
- Plug in the device.
- Hold the power button for 5–10 seconds.
- Wait until the LED flashes White/Amber (Your Title Goes Hereor Rapid Blue/Red depending on the model).
- The device is now broadcasting an open Wi-Fi AP named
Wemo.Mini.XXX.
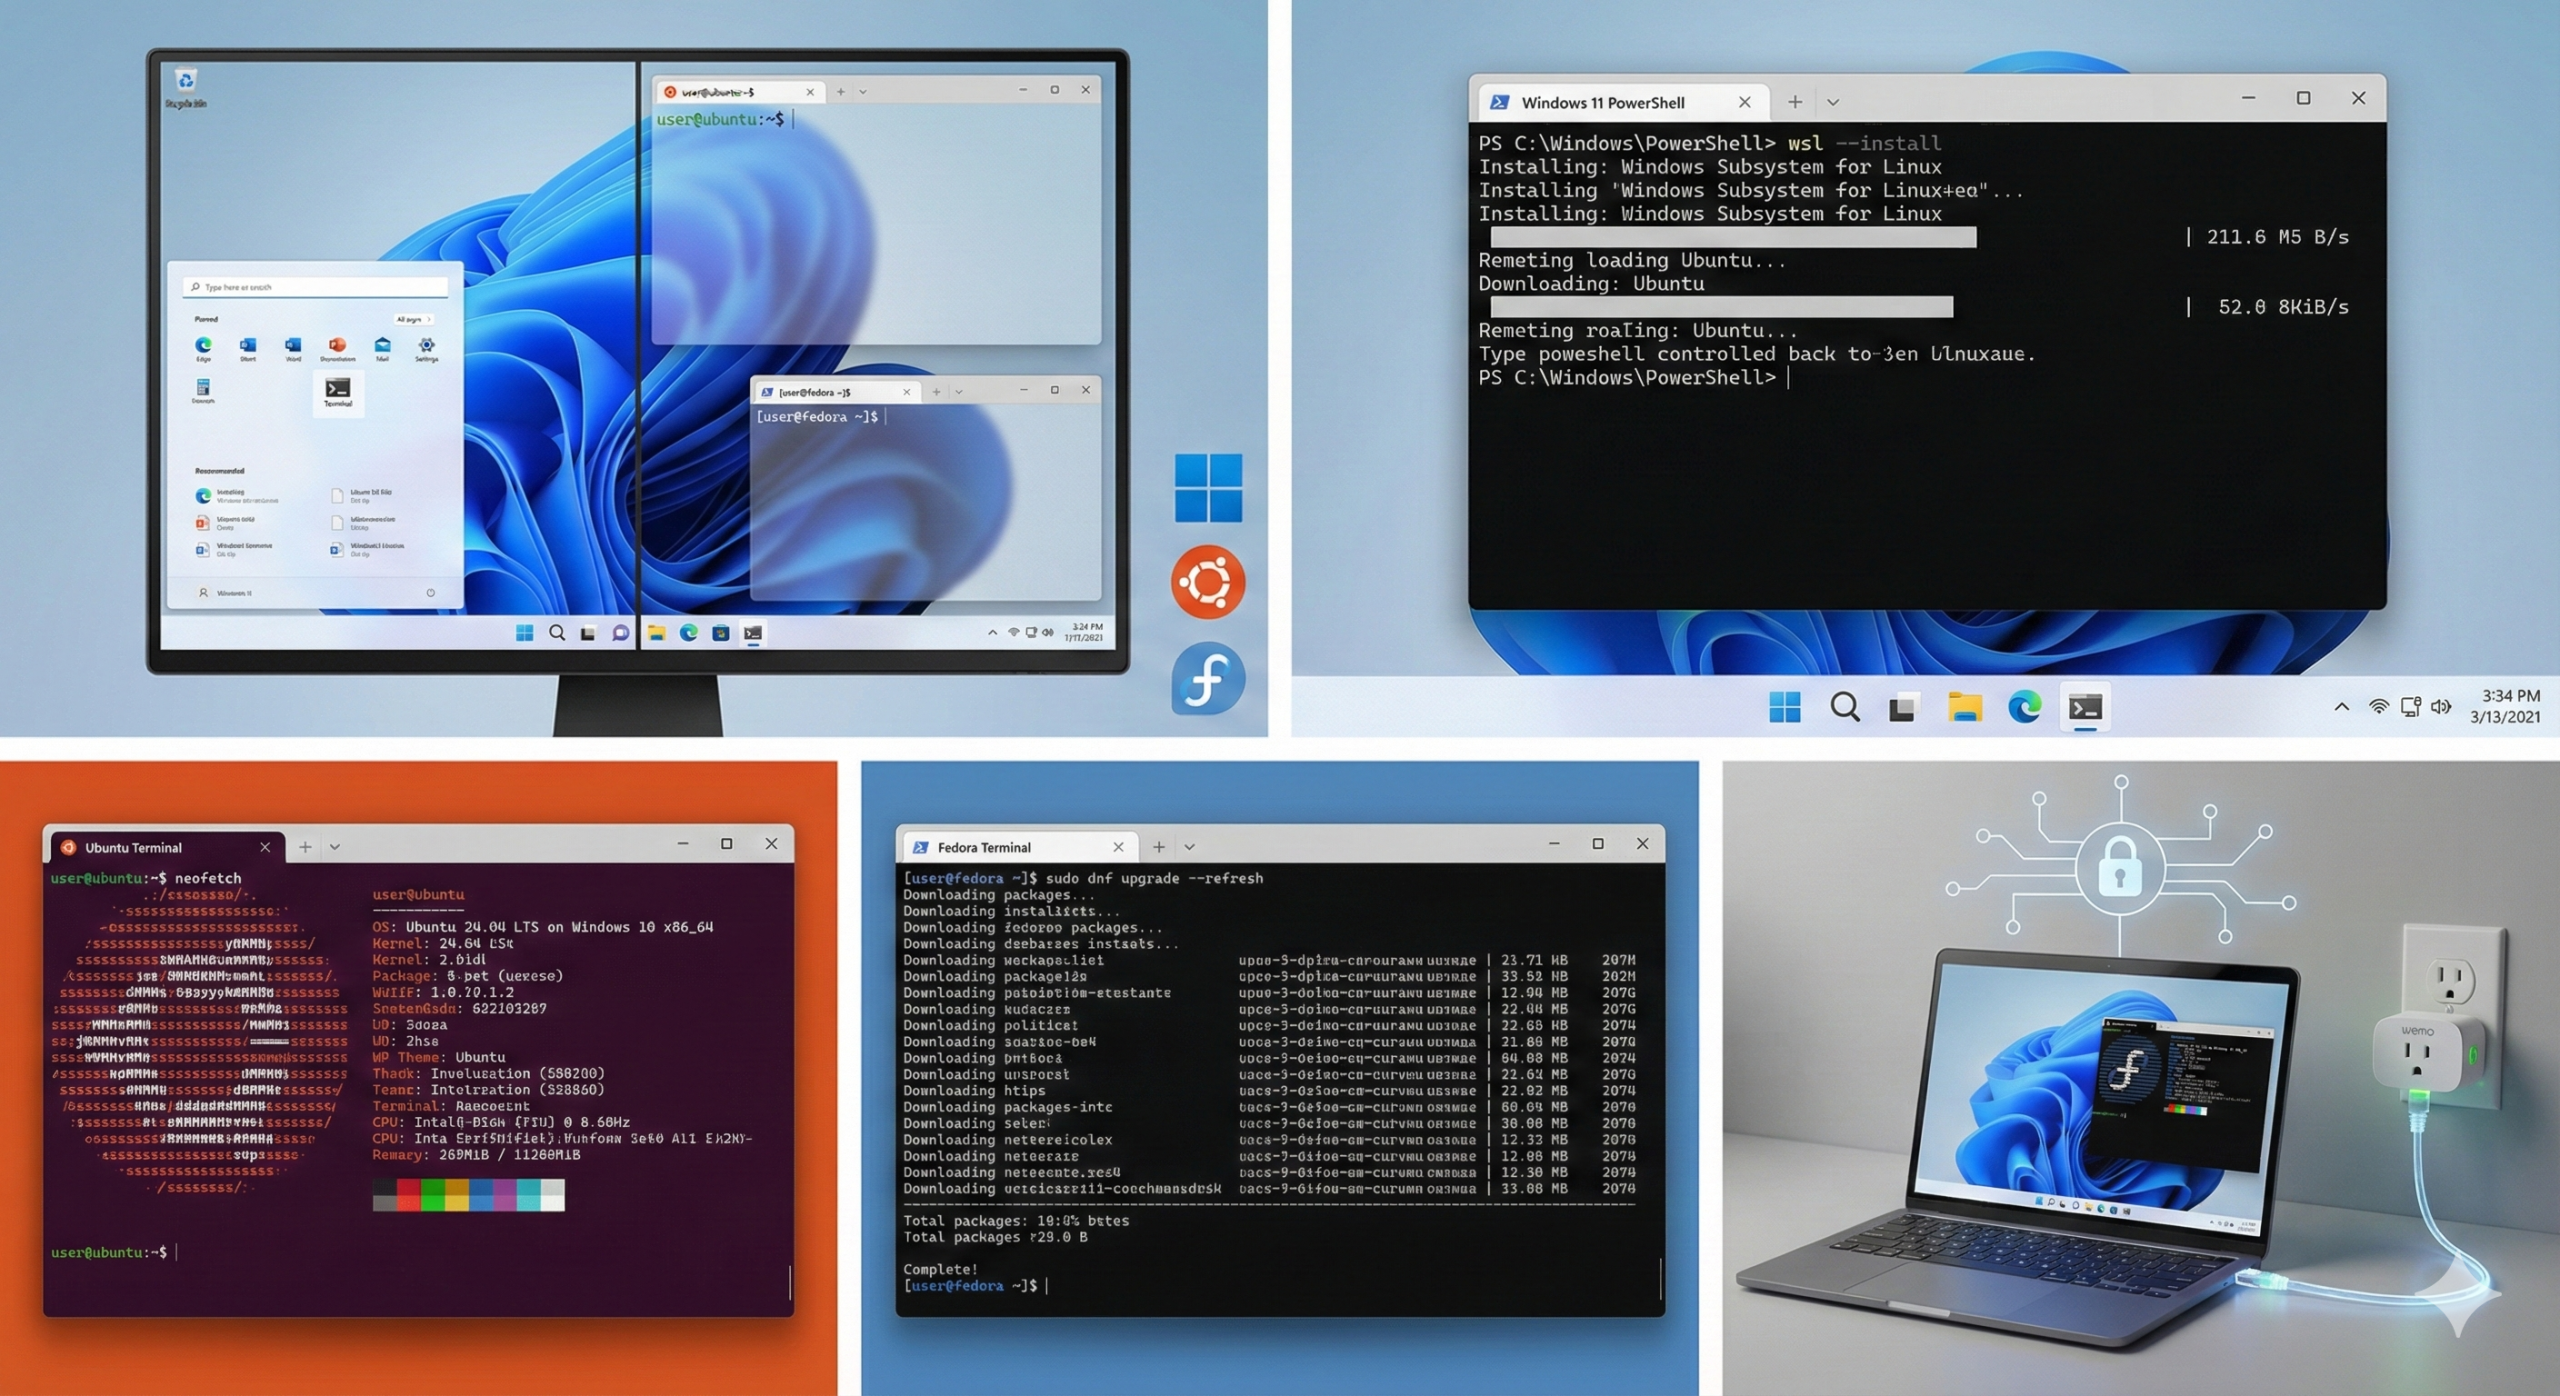
Phase 2: The Environment
Since we can't use the app to tell the plug our Wi-Fi password, we will use the pywemo Python library to send the configuration payload directly. Choose your operating system below to set up the environment.
🐧 Option A: Linux (Ubuntu / Fedora)
Open your terminal. We need Python 3 and the venv module to avoid system conflicts (PEP 668).
For Ubuntu / Debian:
    sudo apt update
    sudo apt install python3-full python3-venv -y
For Ubuntu / Debian:
sudo dnf install python3 python3-pip -y
Set up the Project: Now, create a clean workspace so we don't mess with system libraries.
    mkdir ~/wemo_provision && cd ~/wemo_provision
    python3 -m venv venv
    source venv/bin/activate
    pip install pywemo
You should now see (venv) at the start of your command prompt.
🪟 Option B: Windows (Native)
If you don't want to use WSL, you can run this directly on Windows.
- Download Python: Grab the latest stable release from
python.org - Important: During installation, check the box that says "Add Python to PATH".
- Open PowerShell or Command Prompt and run:
mkdir wemo_provision
cd wemo_provision
python -m venv venv
.\venv\Scripts\Activate
pip install pywemo
💻 Option C: Windows + WSL (Advanced)
Warning: WSL 2 runs behind a virtual NAT, which blocks it from seeing the Wemo's Wi-Fi network by default. If you insist on using WSL, you must enable Mirrored Networking.
- Create a file at
%USERPROFILE%\.wslconfigin Windows. - Add:
[wsl2]
networkingMode=mirrored
3. Run wsl --shutdown and restart. Then follow the Linux (Ubuntu) instructions above.
Phase 3: The Provisioning Script
Create a file named setup_wemo.py in your wemo_provision folder and paste the following code. This script scans standard Wemo default gateways and pushes your credentials.
Edit the SSID and PASSWORD variables at the top before saving.
import pywemo
import sys
import time

# --- CONFIGURATION ---
SSID = "Your_IoT_SSID"
PASSWORD = "Your_WiFi_Password"

# Wemo devices in setup mode usually sit at one of these IPs
TARGET_IPS = ["192.168.49.1", "10.22.22.1", "192.168.1.1"]

def provision():
    print(f"--- Wemo Local Provisioner ---")
    print(f"Targeting SSID: {SSID}")

    device = None

    # 1. Discovery Loop
    for ip in TARGET_IPS:
        print(f"Probing {ip}...")
        try:
            url = pywemo.setup_url_for_address(ip)
            device = pywemo.discovery.device_from_description(url)
            if device:
                print(f"SUCCESS: Found {device.name} at {ip}")
                break
        except Exception:
            continue

    if not device:
        print("ERROR: Device not found. Ensure you are connected to the 'Wemo.Mini.XXX' Wi-Fi.")
        sys.exit(1)

    # 2. Injection
    print("Injecting Wi-Fi credentials...")
    try:
        # Standard Setup for Gen 2+ devices
        device.setup(ssid=SSID, password=PASSWORD)
        print("Payload sent! The device will now reboot and join your network.")
    except Exception as e:
        print(f"Error sending payload: {e}")

if __name__ == "__main__":
provision()Phase 4: Execution
This is the "physical" part of the process.
1. Connect to the Wemo: On your laptop (Windows or Linux), disconnect from your home Wi-Fi and connect to the open network named Wemo.Mini.XXX.
2. Verify Connection: Wait 30 seconds for the Wemo to assign you an IP.
3. Run the Script:
-
- Linux:
./venv/bin/python3 setup_wemo.py - Windows:
.\venv\Scripts\python setup_wemo.py
- Linux:
4. Watch the Light: The Wemo LED should stop blinking or change color. It is now rebooting.
5. Reconnect: Connect your laptop back to your main Home/IoT Wi-Fi.
Phase 5: Home Assistant Integration
Now that the device is on your LAN, Home Assistant will pick it up. You have two integration paths:
Method A: HomeKit Device (Recommended)
Most newer Wemo plugs support HomeKit locally, which is incredibly fast and push-based.
- Go to Settings > Devices & Services in Home Assistant.
- You should see a discovered HomeKit Accessory.
- Click Configure.
- Enter the 8-digit code printed on the sticker (format
XXX-XX-XXX).
Method B: Belkin WeMo (Legacy)
If you have older "Pre-HomeKit" devices:
- Go to Settings > Devices & Services.
- Click Add Integration > Belkin WeMo.
- If your device is on the same subnet, it will be auto-discovered.
- Note: If your IoT devices are on a separate VLAN, you must enable mDNS reflection (Avahi) in your router/firewall for discovery to work.
Phase 6: The Homelab Hardening (Optional)
Since these devices no longer have cloud support, they have no business talking to the internet.
For pfSense / OPNsense Users:
1. DHCP Static Mapping: Assign a static IP to the MAC address of the Wemo plug.
2. Firewall Rule:
-
- Action: Block / Reject
- Interface: IoT_VLAN
- Source: Wemo_IP
- Destination: Any (WAN)
3. Allow Local: Ensure you still allow traffic from your Home Assistant IP to the Wemo IP on port 80/443/49153.
By blocking WAN access, you prevent the device from constantly trying to reach the defunct Belkin servers, which reduces network chatter and potential security vectors.
Welcome to Local Control
Congratulations on completing the journey to local control! By transitioning your Wemo devices to Home Assistant, you've taken a significant step towards greater autonomy and security in your smart home setup. Enjoy the peace of mind that comes with knowing your data stays within your control, and relish the newfound flexibility and reliability of your IoT network.
As you continue to explore the possibilities of local control, remember that the power to innovate and customize is now at your fingertips. Whether you're adding new devices or optimizing existing ones, the skills you've acquired will serve you well. Welcome to a world where your home automation is truly your own.
0 Comments